Friday, February 11, 2011

Contest Entry

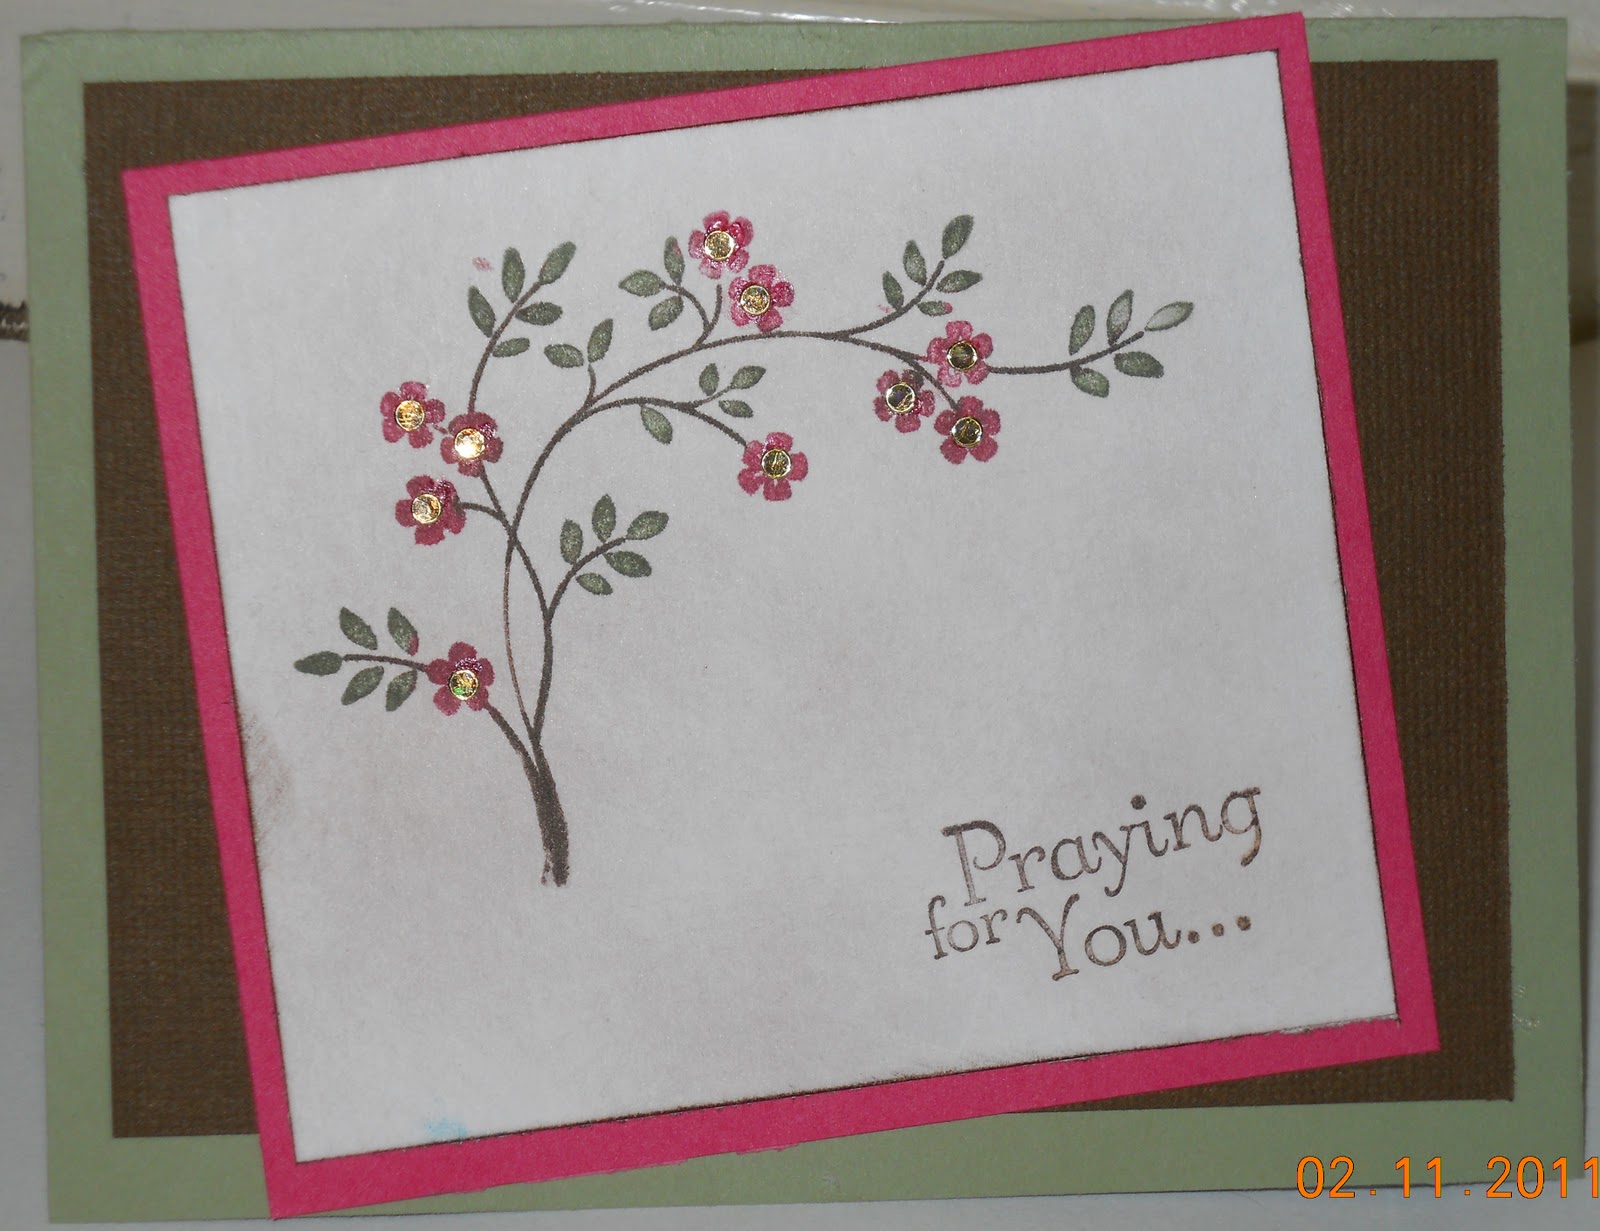
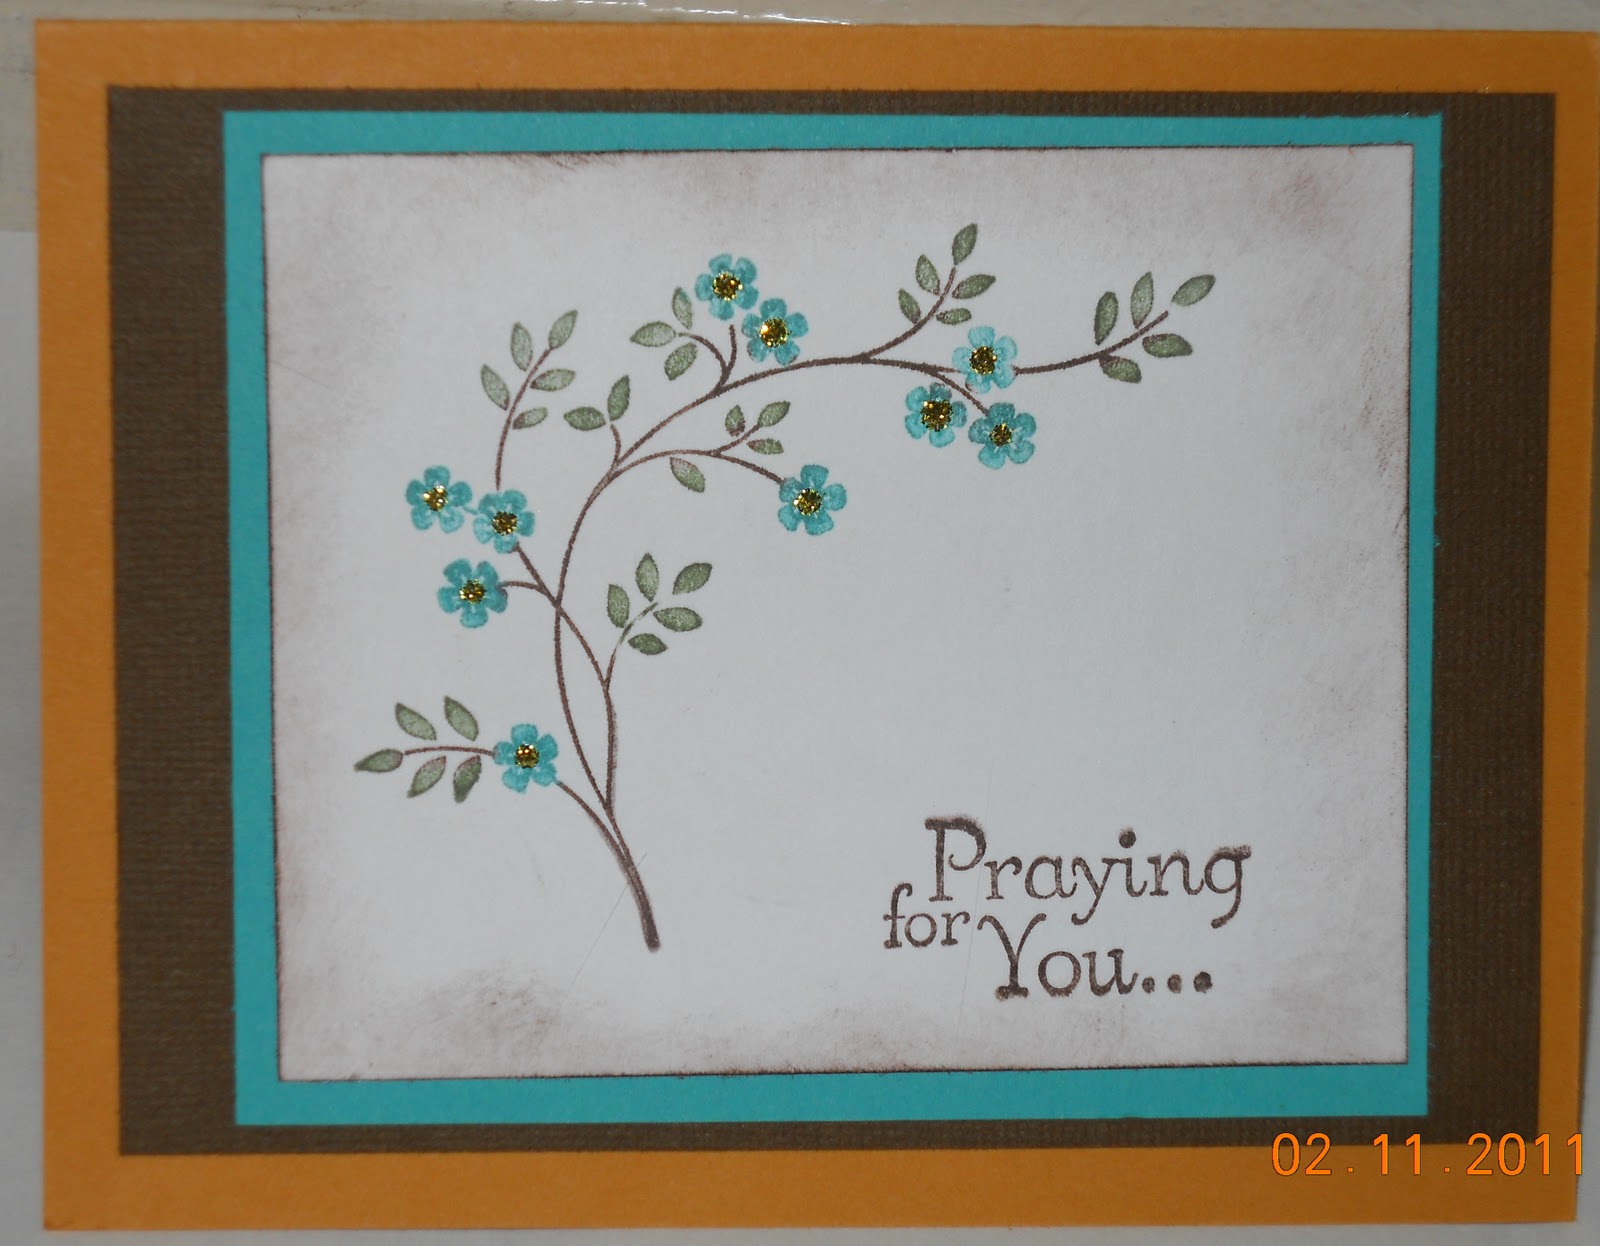
Well one of my very close friends is having some blog candy. She asked that we create a card that was Thinking of You or Get Well. Head on over to Chris's World to enter your own card for some awesome blog candy.

I used SU paper, markers, and stamps. I couldn't decide on what colors I liked so I made one with teal and one with Melon Mambo. One of the best things about SU stamps is that it is so easy to color multiple colors on the stamp itself with markers and then "huff" on the stamp and stamp away. I have also included the insides of the cards that I stamped messages on. I also used some gold bling stickers on 2 of the cards and stickles on the rest. The little stickers just took way too long and my tweasers are not good at all. Looks like I know what my next purchase will be. Hope that you enjoy!

This is a close up of the gold bling stickers which didn't come out as good as I would have liked.


I think that this is the one that I will send Chris to enter her contest. I love how the Get Well Soon looks after I used the heart border punch from SU and then sponged Chocolate Chip around the words.

 Well that is it for now. I haven't had much time to create lately with my 4 wild and crazy boys. I hope to make some time in the coming weeks to complete a scrapbook for myself and my mother-in-law of an adventure we had at the creek.

Thursday, February 3, 2011

1st Gypsy Cut

As I posted earlier I got a Gypsy not long ago. I am still learning how to use it and have been watching all kinds of YouTube videos to learn. Here is my 1st cut and card made using the Gypsy.

This is what my Cricut mat looked like after my cuts. I love how you can use such small pieces of paper and don't have to waste it.

  This is the finished card. I made a birthday card and used Creat a Critter. I also used SU paper.

This is the inside of the card. Here I used The Stamps of Life stamps by Stephanie Barnard. Click here to check them out. I believe this one is called greetings4birthday.

Wednesday, February 2, 2011

My Scrap Closet

Since we moved to TX our new house does not have enough room to put my scrap stuff anywhere other than a room that is suppose to be a storage closet. My lovely hubby told me to use this storage area as my scrap closet and the stuff that needed to be stored could go to the garage. Needless to say the garage is full and therefore our trucks have to sit outside. I sacrificed for my scrap stuff. I have to get my stuff that I want to play with and head to the dining room table to craft. I thought that I would post some pictures of my scrap closet so that you can see what I have to work with. I have invested in some clear boxes which makes this area so easy to work with. That way I can see where everything is.

 This is where I keep my SU stamp pads and my CTMH stamp pads. I also keep my ribbon, some tape, stickles, stamp cleaners, and some of my scissors.
 
Here is my paper. I have SU and CTMH in the black paper holders and other companies in the white wire cubes. I also store my Cricut carts in the wire cubes along with any books I have. Of course I also have my SU catalog right on top to make my wish list. This is a must to be handy. :) On the 1st shelf are my stamps and stamp blocks. I keep my stamps in clear plastic cases and also in binders. I have taken most all of my stamps off of blocks and added the EZmount to them so that I can store them easier. The clear box that you see on the 1st shelf holds my Gypsy and all the cords to it.

 The next shelf holds my Cuttle Bug, Big shot, and all the folders that I have. I also have my heat gun and stamps that are on blocks here too. My markers and some sponges are keep here also. The next shelf holds extra adhesive, glitter, my bling, my distressing kit, a box that holds my cards that I make, my few stamping wheels, beads, and some little accessories. I also have my reinkers for the stamp pads in a box held here. The top shelf I placed my albums, sticker binders, photos, and my lamination machine.

Her is the back of the door. I used some holders that I had ordered from QVC a while ago to hold most of my punches. I love punches! In the very top of one I also put Cody's stamps and his stamp pads that he is allowed to use. 

This is the wall behind the door when it is open. I used this space to hold my Cricut mats and to hang my organizers for my little buttons, brads, and small stuff.

Under the stamp area I keep a file box with scraps, a box with magazines, and the silver cart is what I put my supplies in to wheel to the dining room table to scrap or stamp. I need to clean up this area.

Well that is it. That is my Scrap Closet. I hope that you enjoyed the tour of the small scrap area!

Tuesday, February 1, 2011

Snow in TX

I just had to post some pictures of the snow that we got last night and today here in Abilene, TX. Yes I said TX. I expected snow when we lived in ND and in AK, but not TX. Oh well at least the kids got a day off from school along with the hubby a day off from work.


MTC Continues

Ok I know that this is a little late, but life got in the way of crafting. Onto the next step. In this step Jin shows us how to shadow layer and align. Click here to read her tutorial and to watch her video. This step is a little tricky I still am gonna have to do this again to get it. Jin is wonderful in her steps, but for me the video is much easier to follow than the written instructions. Guess I am more visual. The penguin is from Lettering Delights DB Animal Occasion. Click here to get this wonderful graphic. In this tutorial Jin shows us how to make a very cute shape card. She uses this type of technique to make shape cards to put into her kids lunches to tell them she loves them. I too added these to my kids lunches. Cody loved it and Clay didn't say much about it probably cause he is older.

 This is the cute cards after I just put them together.

 This is the card I added to Clay's lunch. I used SU paper, some stickles, and some amazing stamps by The Stamps Of Life called youare2kind. Click here to check out Stephanie Barnard's stamps.

This is the inside of Clay's card. I also messed up and got ink on the block so that is the line that you see. Oh well part of crafting is making it your own.

Here is the card I made for Cody. Again I used SU papers, stickles, and stamps by The Stamps of Life.

Here is the inside of Cody's card. I just love these stamps! They can be used for so many things.

Well that is all for now. I hope to finish lesson 5 and 6 soon.

Friday, January 14, 2011

Make The Cut!

I have joined all the groupies out there for Make The Cut! What a wonderful program. I came across Jin Yong's Blog Under a Cherry Tree where she is doing an amazing series teaching the program step by step to Newbies like me. Now I haven't looked at how others are teaching this so I can only say how Jin is teaching it. She explains everything so well along with a terrific writing style. I am so glad that I came across her blog.

I changed my card just a little cause I didn't have the Cupid that she uses on hers. I chose to use a file from SVGCuts.com which is a set of 3 Valentine Truffles. Here is the link to the file. I did have a problem when it came to laying out the paper on the mat. For some reason I could not get it through my thick skull that the way it is laid out is backwards from what I thought it should be. Oh well practice makes perfect.

I used some SU papers, K & Company papers, and some paper from Michaels. The stamps used on the inside of the card are from The Stamps of Life. I also used a SU border punch on the pink paper which is slick on one side. One cool feature of MTC is that you can print text onto your cardstock. How neat! One stupid thing that I did do and will not do in the future is to print text onto slick cardstock. I assumed that it would dry over time and I even used my heat gun on it, but no luck. It still smeared a little. Lesson learned!

I am so excited to see what Jin has in store for us tomorrow. I am a day behind her, but I will catch up I hope tomorrow. Join us over at Under a Cherry Tree and learn MTC! Your Cricut and youself will appreciate it!

Thursday, January 13, 2011

My Toys!

Well I got a few new toys to play with. Before we left North Dakota my twins got a hold of some scissors and cut the band on my Cricut which holds the cutting housing. I am getting that fixed, but I just couldn't wait. I scored one of the new purple Cricuts that Wal-Mart had on the day after Thanksgiving. Purple is one of my favorite colors and I just had to have it. I have waited on Cricut and other scrapbooking companies to come out with more purple stuff. It seems that everything is in pink which I do like, but purple is my choice.

   Isn't that cool the color of the lighted buttons are even a purple color!


 Close up of the flourishes

So much prettier than just a plain Cricut.

My other new toy is my Gypsy. Yes I know I said that I was not going to buy one, but I just realized how hard it is to keep changing all the carts when I want to use more that one on a design. I still haven't learned how to use it that much. Seems like I will be watching lots of YouTube videos to learn how.


Hope that everyone had a wonderful Christmas holiday. Since we are now back in TX we were able to spend it with our family even at our house this time. What a change. We usually travel to a family members house, but Kevin was on call for work so no go this time. I do have a post for tomorrow so come back to see what I am learning right now!